Doing
a patio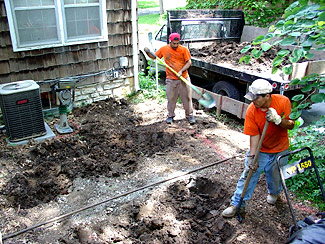 right is not exactly child's play
as there's lots of work
to be done. It starts with digging the area to be surfaced and
getting it prepared. The shape is of course among the very first
things to consider. A
little creativity goes a long way toward a more interesting finished
product. right is not exactly child's play
as there's lots of work
to be done. It starts with digging the area to be surfaced and
getting it prepared. The shape is of course among the very first
things to consider. A
little creativity goes a long way toward a more interesting finished
product.
|
|
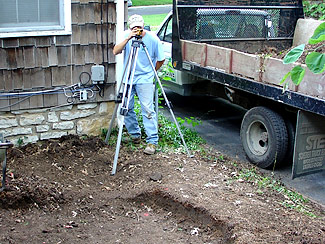 Professionals
will use surveying tools to ensure that all slopes
and grades are appropriate for drainage (off the patio and away from
the home) as well as aesthetics. Professionals
will use surveying tools to ensure that all slopes
and grades are appropriate for drainage (off the patio and away from
the home) as well as aesthetics.
|
|
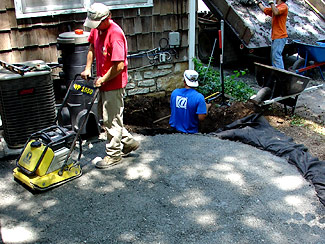
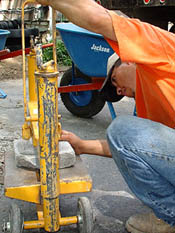
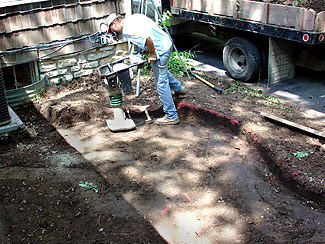 Once
satisfied with the size, shape, and grade of the patio area the dirt
should be tamped firm. A power tamping machine makes this a bit
more bearable. Once
satisfied with the size, shape, and grade of the patio area the dirt
should be tamped firm. A power tamping machine makes this a bit
more bearable. |
|
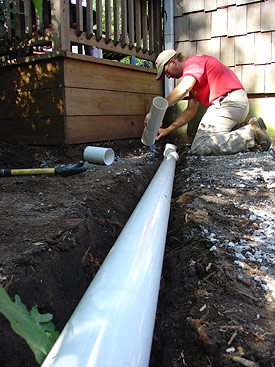 Speaking
of drainage... It is important to plan ahead
for anything that won't be possible once the patio is complete.
In this case we needed to run our downspout under the patio area.
Make sure the drain pipe slopes away from the house! Speaking
of drainage... It is important to plan ahead
for anything that won't be possible once the patio is complete.
In this case we needed to run our downspout under the patio area.
Make sure the drain pipe slopes away from the house! |
|
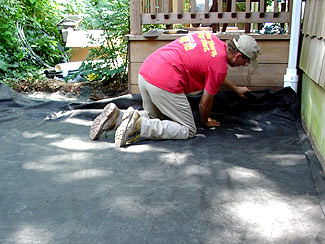 Next,
it's time for a layer of special fabric. Next,
it's time for a layer of special fabric. |
| |
 Followed
by a layer of compacted aggregate stone to serve as a base for the
Belgard pavers. Followed
by a layer of compacted aggregate stone to serve as a base for the
Belgard pavers. |
|
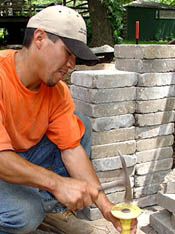
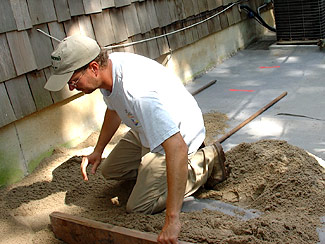 Clean
sand is the next layer, smoothed to just the right depth. Clean
sand is the next layer, smoothed to just the right depth. |
|
|
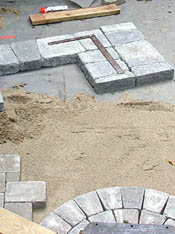
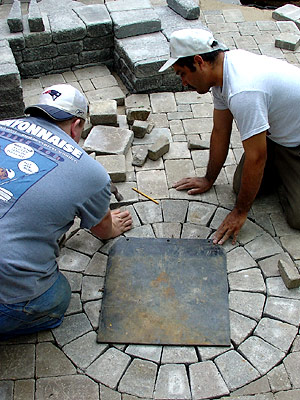
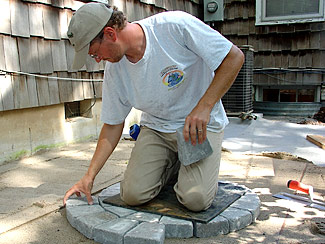 Roy
wanted to use a rosette-style element in the patio. After
finding the center of the patio area he begins to lay out the
specially shaped pavers. Roy
wanted to use a rosette-style element in the patio. After
finding the center of the patio area he begins to lay out the
specially shaped pavers. |
|
|
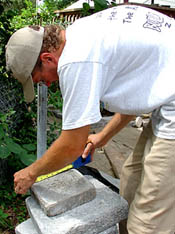
You know
what they say, "Measure twice, cut once."
When the design is unique there's going to be
some more cutting involved.
  |
|
|
Hey, this is starting to look pretty good!
 |